Table of Contents >> Show >> Hide
- Why iPods Sometimes Delete Old Music
- Method 1: Use Manual Music Management
- Method 2: Use Sync Library on an iPod touch
- What to Do If You See “Erase and Sync” or “Remove and Sync”
- Tips for Adding Music Safely Every Time
- Troubleshooting Common Problems
- Which Method Is Best?
- Final Thoughts
- Experiences Related to “How to Add Music to iPod Without Deleting Old Music”
If your iPod still works, congratulations: you own a tiny time machine with a click wheel, a headphone jack, and zero interest in your streaming subscription drama. But if you have ever connected that beloved little brick to a new computer and felt your soul leave your body at the words erase and sync, you are not alone. One wrong move can make your iPod act like your old library never happened.
The good news is that adding music to an iPod without deleting old music is absolutely possible. The trick is to stop automatic syncing from calling the shots and switch to a method that gives you the steering wheel. In most cases, that means manually managing music in iTunes or Finder. If you use an iPod touch, there is also a cloud-friendly option through Sync Library. Either way, the goal is simple: keep your existing songs, add new ones carefully, and avoid turning your next sync into a musical house fire.
In this guide, you will learn the safest ways to add songs, albums, and playlists to your iPod without wiping what is already there. We will also cover the warning messages that make people sweat, the settings that matter most, and a few real-world examples so you can skip the panic and get back to listening.
Why iPods Sometimes Delete Old Music
Here is the problem in plain English: many iPods are designed to sync with one music library at a time. If you connect the device to a different computer or a different iTunes library, Apple’s software may assume you want the new library to replace the old one. That is great if you enjoy chaos, but not so great if your iPod is full of songs you actually want to keep.
Automatic syncing is usually the culprit. When auto-sync is enabled, iTunes or Finder tries to make your device match the library on that computer. If that library is missing songs that live on your iPod, those songs can disappear during the next sync. That is why so many people plug in an old iPod “just for one album” and end up staring into the emotional void.
The safest path is to use a setup that lets you add music manually rather than allowing the software to mirror everything automatically. Think of it less like handing your house keys to a stranger and more like letting someone in through the front door one song at a time.
Method 1: Use Manual Music Management
This is the best method for most classic iPods, iPod nanos, iPod shuffles, and many older setups on Windows or older Macs. It also works well when you want precise control over what gets added and what stays put.
Step 1: Back Up What You Can Before You Touch Anything
Before you connect your iPod, do one favor for Future You: back up your music library on the computer you plan to use. If your iTunes library is messy, this is a good time to clean it up, gather missing files, and make sure the songs you want to add are already in the library. If you are using a Windows PC, confirm that your new music files are imported into iTunes before you connect the iPod. If you are on a Mac, make sure your music is organized inside the Music app or in the library that Finder syncs with.
Backing up may feel boring, but boring is underrated. Boring is how you avoid sending yourself a future text that reads, “Why did I do this to myself?”
Step 2: Turn Off Automatic Sync
This setting matters a lot. If your software auto-syncs the second your iPod appears, you do not get much time to react. Open iTunes, go to the device settings, and look for the option that prevents iPods from syncing automatically. On many setups, you can also uncheck the option that says the device should sync automatically whenever it is connected.
This one move dramatically lowers the odds of an accidental wipe. It gives you a pause button before any big changes happen, which is exactly what you want when old music is on the line.
Step 3: Enable Manual Management
Once your iPod is connected, select it in iTunes or Finder. On the Summary or General screen, look for the setting labeled something like Manually manage music and videos. Turn that on, then apply the change.
When manual management is enabled, your iPod stops behaving like a clone of your library and starts acting more like a music player you can load intentionally. Instead of syncing every checked song or selected playlist automatically, you drag over only what you want.
This is the secret sauce. It is not flashy, but it is effective. Manual management is the difference between “I added three albums” and “I accidentally reinvented silence.”
Step 4: Drag Songs, Albums, or Playlists to the iPod
Now comes the satisfying part. In iTunes, drag individual songs, entire albums, artists, or playlists from your library onto the iPod in the sidebar. If your library is already organized into playlists like Road Trip, Gym Mix, or Songs I Pretend I Discovered First, this step is especially easy.
Adding playlists is often smarter than dragging random tracks one by one. Playlists are easier to update later, and they help keep your iPod organized. If your device is short on space, create a smaller playlist with the songs you actually want rather than dumping your whole library into the digital equivalent of an overstuffed closet.
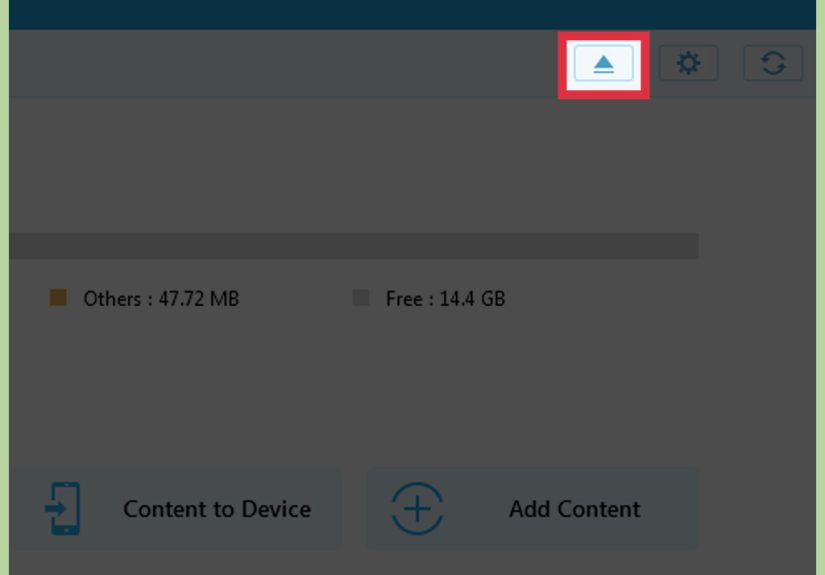
Step 5: Eject the iPod Properly
When your music finishes copying, eject the iPod before unplugging it. It sounds obvious, but skipping this step can cause corrupted files or incomplete transfers. Your iPod deserves a graceful exit, not a sudden yank like a vacuum cord.
Method 2: Use Sync Library on an iPod touch
If you have an iPod touch rather than a classic, nano, or shuffle, you may have a second option. If you subscribe to Apple Music and use the same Apple Account across devices, Sync Library can make your music available on the iPod touch without the old-style cable sync routine.
This method is more modern and less fiddly, but it is best for people who already live in Apple’s ecosystem. Once Sync Library is enabled, your music library can appear across compatible Apple devices signed in with the same account. That means you can add music on your computer and access it on the iPod touch, then download what you want for offline listening.
When This Method Makes Sense
Use Sync Library if you have an iPod touch, an Apple Music subscription, and you want your library to stay updated across devices automatically. It is especially handy if you are adding new songs often and do not want to plug in your device every time.
It is less useful if you are using a much older iPod model, a patchwork library from multiple computers, or a setup where you want every transfer handled manually. In those situations, Method 1 is usually the safer bet.
How to Use It
First, make sure your music library on the Mac or PC is in good shape. Then sign in with the same Apple Account on the iPod touch, enable Sync Library in the Music settings, and allow the library to update. After that, open the Music app and download the albums, songs, or playlists you want available offline.
In short, this method trades wires and drag-and-drop for cloud syncing. If manual management feels like packing a suitcase yourself, Sync Library is more like having the hotel send your clothes ahead. Convenient, yes. Slightly magical, also yes.
What to Do If You See “Erase and Sync” or “Remove and Sync”
This warning is where many people go wrong. If iTunes or Finder tells you the iPod is synced with another library and offers to erase or remove content, stop right there. Do not click the scary button unless you are fully prepared to replace the selected media on the device.
Instead, cancel the prompt and rethink your setup. In many cases, you should confirm that automatic syncing is disabled, make sure manual management is turned on, and work from the computer that originally held the device’s library whenever possible. If you moved to a new PC and your old library is gone, proceed slowly. Your iPod is not being dramatic. It is trying to warn you.
A good rule is simple: if you see language about erasing, replacing, or removing content, do not guess. Pause, review the settings, and only continue when you know exactly what the software plans to do.
Tips for Adding Music Safely Every Time
Keep One Main Music Library
Even if you manually manage music, life gets easier when one computer remains your primary library. Keep your purchased songs, ripped CDs, and downloaded files in one organized place. The fewer mystery folders you have, the fewer future headaches you create.
Use Playlists Instead of Random Drag-and-Drop
Playlists make updates easier and reduce mistakes. They also help you avoid duplicate songs and let you refresh your iPod without rethinking your entire music identity every weekend.
Watch Your Storage
Older iPods do not have infinite room, and they are not shy about it. Check available space before adding a giant batch of lossless files. If needed, prioritize your favorites or create a “best of” playlist instead of trying to cram your whole collection into a tiny player with the confidence of a carry-on bag at holiday travel time.
Organize Your Library Before Connecting the Device
Fix album names, artist labels, and track info on the computer first. Clean metadata means cleaner syncing. It also saves you from the classic iPod mystery where one album somehow appears under four different artist names and two emotional phases.
Consider Autofill for Controlled Variety
If your device supports it and manual management is enabled, Autofill can quickly load a selection of songs onto the iPod. It is useful when you want fresh music without hand-picking every track. Just make sure you understand how the feature behaves before using it, especially on a full device.
Troubleshooting Common Problems
The “Manually manage music and videos” Option Is Missing
This can happen depending on the model, the software version, or the exact setup you are using. Make sure iTunes is current on Windows, or use Finder on newer Macs. If the option still does not appear, review the device screen carefully and look under Summary or General. Some older iPods behave differently from iPod touch models, so the layout is not always identical.
Your New Songs Will Not Copy Over
Double-check that the songs are actually in your library, not just sitting somewhere on the computer. Also confirm that the file format is supported, that the iPod has enough free space, and that the tracks play normally inside iTunes or Music before you try to transfer them.
The iPod Was Used With Another Computer
This is the big one. If the iPod is tied to an older library, resist the urge to force a sync from a different machine. Try to locate the original library first. If that is impossible, treat the device like precious cargo and move carefully with manual settings only.
Which Method Is Best?
If you have a classic iPod, nano, or shuffle, manual management is usually your best friend. It gives you fine control and helps you add music without wiping older songs. If you have an iPod touch and already use Apple Music, Sync Library may be more convenient and less cable-dependent.
Either way, the smartest move is not “click whatever seems hopeful.” The smartest move is understanding which type of iPod you have, how your music library is stored, and whether your software is trying to manage the whole device automatically or just the songs you choose.
Final Thoughts
Adding music to an iPod without deleting old music is not black magic. It is mostly about avoiding automatic sync traps and choosing the right method for your device. Manual music management remains the safest, most flexible option for older iPods, while Sync Library can be a smooth solution for iPod touch users who want a more cloud-based setup.
The big takeaway is simple: do not let the computer make assumptions about your music collection. Turn off auto-sync, enable manual management when needed, and add songs intentionally. Your iPod may be old-school, but it does not have to be high-risk.
And honestly, there is something satisfying about keeping an iPod alive. In a world where everything wants a subscription, an update, and probably your attention span, a little device full of songs you chose on purpose still feels pretty great.
Experiences Related to “How to Add Music to iPod Without Deleting Old Music”
One of the most common experiences people have with this topic starts with confidence and ends with a stare of horror. Someone finds an old iPod in a drawer, charges it up, sees that it still has years of favorite songs on it, and thinks, “I’ll just add a few new tracks.” Five minutes later, they are facing a sync warning that sounds less like helpful software and more like a threat from a tiny corporate lawyer.
Another very real experience is the “new computer problem.” A person buys a new laptop, installs iTunes, plugs in the iPod, and assumes the process will be seamless. Instead, the device acts like the new computer is a stranger trying to rearrange the furniture. This is where users often realize that the iPod remembers its original library, and not in a forgiving way. The lesson usually arrives with a spike in blood pressure and a sudden appreciation for backup drives.
Then there is the playlist person. This user has learned the hard way and now keeps everything neatly sorted. They do not drag random tracks anymore. They build playlists for workouts, road trips, quiet evenings, and suspiciously dramatic walks through grocery stores. Their experience tends to be much smoother because they add music with intention, not in a hurry. The iPod responds well to this level of respect.
There is also the collector experience, which is honestly kind of charming. Some people still use old iPods because they like owning music outright. They ripped CDs, bought tracks years ago, and built a library slowly, one album at a time. For them, adding music is not just a technical task. It feels like maintaining a personal archive. They are not chasing algorithms or trying to train a recommendation engine. They are simply curating a soundtrack that belongs to them.
iPod touch users often describe a different experience. They are more likely to be juggling local files, purchased tracks, and Apple Music all at once. For them, the confusion is not always about cables. It is about figuring out whether a song lives in the cloud, on the device, or only on one machine at home. Once Sync Library is set up correctly, life gets easier. Before that, it can feel like the song exists in three places and nowhere at the same time.
And of course, there is the victory moment. The user disables auto-sync, turns on manual management, drags over a few albums, ejects the iPod properly, and everything works. No songs vanish. No warning screen wins. The old music stays, the new music appears, and the tiny device survives another round. It is not exactly a movie ending, but for anyone who has almost lost a carefully built music collection, it feels close enough.
The shared experience across all of these situations is simple: people do not usually need a flashy trick. They need clarity. Once they understand why iPods delete music, which settings to avoid, and how to add songs safely, the whole process becomes much less stressful. The fear goes away, the music stays put, and the iPod goes back to doing what it has always done best: playing the songs that matter.


