Table of Contents >> Show >> Hide
- Why a Tall Dresser Makeover Is Such a Smart DIY
- Pick a “Makeover Recipe” Before You Touch a Sandpaper
- Materials and Tools (No, You Don’t Need a Garage Full)
- Step-by-Step: Easy Tall Dresser Makeover That Looks Professional
- Step 1: Remove drawers, label everything, and take “before” photos
- Step 2: Clean like you mean it (because paint hates furniture polish)
- Step 3: Fix the wobbles and the “battle scars”
- Step 4: Scuff sand (or degloss) for a finish that actually sticks
- Step 5: Primeespecially if it’s laminate, veneer, or stained wood
- Step 6: Paint in thin coats (the secret to a smooth, non-gloppy finish)
- Step 7: Add a protective topcoat (optional, but wise for real life)
- Step 8: Upgrade the hardware (the fastest glow-up on Earth)
- Step 9: Make it “custom” with one small design trick
- Step 10: Reassemble, pad the feet, and anchor it for safety
- A Practical Example: “From Honey Oak to Modern Moody”
- Troubleshooting (Because DIY Is Basically “Problem-Solving With Snacks”)
- Conclusion
- Experiences: What I’ve Learned From Tall Dresser Makeovers (So You Don’t Have To)
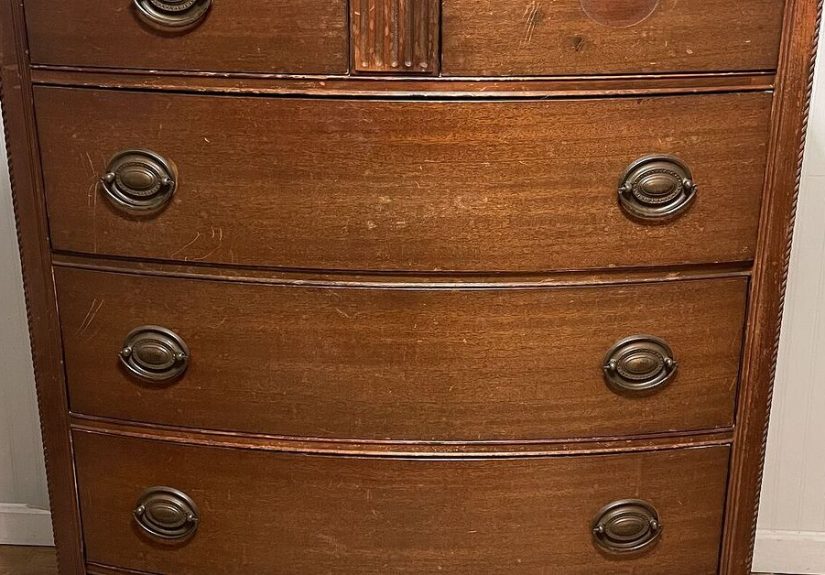
A tall dresser is basically the storage equivalent of a studio apartment: it goes up instead of out, holds more than it looks like it should,
and somehow always ends up wearing at least one mysterious scuff mark like a badge of honor. The good news? A tall dresser makeover is one of the
easiest ways to get a big “wow” without a big “why did I start this?” momentespecially if you follow a simple plan that focuses on prep, paint,
and a few strategic upgrades.
This guide walks you through an approachable, beginner-friendly tall dresser makeover that looks high-end, holds up to real life, and doesn’t require
a workshop full of fancy tools. We’ll cover what to do if your dresser is laminate, veneer, or solid wood, plus the quick design tricks that make a
“thrift store find” look like “custom furniture.”
Why a Tall Dresser Makeover Is Such a Smart DIY
Tall dressers (sometimes called “tallboys” or “highboys”) are perfect makeover candidates because they have lots of visual real estate: a big front,
multiple drawer faces, and hardware that can instantly change the style. Even small changeslike new pulls or a fresh colorread as a dramatic upgrade.
- Big impact, small footprint: You upgrade storage and style without taking over the room.
- Budget-friendly: Paint + hardware often costs less than replacing the whole piece.
- Eco win: Refinishing keeps bulky furniture out of landfills and reduces new-material demand.
Pick a “Makeover Recipe” Before You Touch a Sandpaper
The easiest way to avoid makeover chaos is to choose a clear direction. Think of this like ordering at a coffee shop: if you don’t decide, you’ll
stand there forever, panicking, while someone behind you sighs loud enough to change the weather.
Three foolproof tall dresser styles
- Modern Classic: One solid paint color (soft white, deep navy, charcoal), simple bar pulls, and a smooth satin finish.
- Warm + Updated: Keep or restain the wood top, paint the body, and add timeless hardware (antique brass or matte black).
- Statement Piece: Painted exterior plus wallpaper/contact paper on drawer fronts or drawer interiors for a pop of pattern.
A quick reality-check (aka “Will I regret this?”)
- Is it laminate? You can paint itjust use the right prep and a bonding primer.
- Is it veneer? Sand gently. Veneer is thin; you’re scuffing, not excavating.
- Is it solid wood? Congrats: you have the easiest surface to refinish and the least dramatic primer needs.
Materials and Tools (No, You Don’t Need a Garage Full)
Here’s the practical list. You can absolutely do this with “basic homeowner energy,” a drop cloth, and a decent playlist.
Prep & repair
- Degreaser or cleaner (mild soap + water works if the piece isn’t oily; degreaser is better for older furniture)
- Sandpaper: 120–150 grit (light leveling), 220 grit (scuff + smoothing)
- Vacuum and microfiber cloths (or a tack cloth)
- Wood filler (for dents/holes) and a putty knife
- Screwdriver, small containers/bags for hardware
Primer, paint, protection
- Bonding primer (especially important for laminate or glossy finishes)
- Paint: durable furniture-friendly option (cabinet/trim enamel, acrylic enamel, or furniture paint)
- Topcoat (optional but recommended for high-use pieces): water-based polyurethane/polycrylic
- Foam roller (smooth finish), angled brush (edges), and paint tray
Style upgrades
- New pulls/knobs (or spray paint for existing hardware)
- Drawer liners, wallpaper, or peel-and-stick paper (optional)
- Rubber feet/felt pads, and an anti-tip furniture anchor for safety
Step-by-Step: Easy Tall Dresser Makeover That Looks Professional
Step 1: Remove drawers, label everything, and take “before” photos
Pull all drawers out and label them on the inside (Painter’s tape: “Top / 2 / 3 / Bottom”). Many dressers have drawers that only behave in their
original positionslike siblings who don’t want to share a bedroom. Bag hardware and screws so you don’t end up “freestyling” fasteners later.
Step 2: Clean like you mean it (because paint hates furniture polish)
Furniture often has invisible buildup: polish, hand oils, grime, and that one sticky spot nobody admits creating. Clean every surface, especially
drawer fronts and the top edge where hands grab. Let it dry fully.
Step 3: Fix the wobbles and the “battle scars”
- Loose frame? Tighten screws. Add wood glue to loose joints if needed and clamp until cured.
- Dents/holes? Fill with wood filler, let dry, then sand smooth.
- Sticky drawers? Check for swollen corners, loose runners, or old waxy buildup; lightly sand rough spots.
Step 4: Scuff sand (or degloss) for a finish that actually sticks
You don’t have to sand down to raw wood for most paint makeovers. What you want is a dull, lightly roughened surface so primer and paint can grip.
Use 220 grit for scuffing. For glossy finishes, a deglosser can helpespecially in carved details where sandpaper struggles. Vacuum dust and wipe clean.
Step 5: Primeespecially if it’s laminate, veneer, or stained wood
Primer is the “insurance policy” of furniture makeovers. On laminate and other slick surfaces, use a bonding primer designed for adhesion.
If your dresser is old wood with tannins (think oak), a good primer helps prevent yellow/brown bleed-through.
- Laminate: Scuff sand + bonding primer is the magic combo.
- Veneer: Gentle scuff + primer; avoid aggressive sanding.
- Previously stained wood: Primer reduces bleed-through and helps paint look even.
Step 6: Paint in thin coats (the secret to a smooth, non-gloppy finish)
Thin coats beat thick coats every time. Use a foam roller for large flat surfaces and an angled brush for edges. Let each coat dry fully. If the surface
feels rough after drying, lightly sand with 220 grit and wipe clean before the next coat. This “sand between coats” habit is how DIYers get that
factory-smooth look.
Step 7: Add a protective topcoat (optional, but wise for real life)
If your tall dresser will see daily usekids, pets, heavy drawers, or the “I set my water glass down without a coaster” lifestyleconsider a clear topcoat.
Water-based topcoats stay clearer and dry faster. Just remember: dry is not the same as cured. Many finishes take days to
weeks to reach maximum hardness, so treat your dresser gently at first.
Step 8: Upgrade the hardware (the fastest glow-up on Earth)
Hardware is the jewelry of furniture. Swap tiny, dated knobs for longer bar pulls to make a tall dresser look more modern. If you’re keeping the same hole
spacing, installation is quick. If you’re changing spacing, use a drilling template (or make one with cardboard) so everything lines up cleanly.
- Modern look: long matte black pulls or simple brushed nickel bars
- Warm + timeless: antique brass knobs or cup pulls
- Extra help: add backplates if old holes show after changing hardware
Step 9: Make it “custom” with one small design trick
Want a makeover that looks intentional (not “I painted a dresser because I was procrastinating laundry”)? Choose one upgrade:
- Two-tone: keep a wood top and paint the body
- Pattern moment: line drawer interiors with peel-and-stick paper
- High-end detail: add thin trim/molding to flat drawer fronts before painting
Step 10: Reassemble, pad the feet, and anchor it for safety
Put drawers back in, install hardware, and add felt pads to protect floors. Finallyand this mattersa tall dresser should be anchored to the wall with an
anti-tip kit. Tall, heavy furniture can tip if drawers are open or kids climb. Anchoring is a small step that adds a lot of peace of mind.
A Practical Example: “From Honey Oak to Modern Moody”
Let’s say you found a solid-but-dated tall dresser with orange-toned “honey oak” stain and shiny brass knobs. Structurally great. Aesthetically… it’s giving
“1997 dental office waiting room.”
- Plan: paint body deep navy, keep top as stained wood, swap to brass bar pulls
- Prep: clean thoroughly, scuff sand, prime to block stain bleed
- Paint: two thin coats of durable enamel, light sand between coats
- Topcoat: optional satin water-based finish for extra durability
- Upgrade: new hardware + lined top drawer interior with subtle patterned paper
End result: a tall dresser that looks boutique and intentional, with a finish that doesn’t panic at the sight of a fingernail.
Troubleshooting (Because DIY Is Basically “Problem-Solving With Snacks”)
“My paint is peeling/scratching easily.”
- Likely causes: skipped bonding primer, not enough scuff sanding, or the piece hasn’t fully cured yet.
- Fix: let it cure longer; if peeling continues, sand back problem areas, prime properly, repaint in thin coats.
“I see brush marks.”
- Use a foam roller on flat areas; don’t overwork drying paint.
- Sand lightly between coats and apply thinner coats.
“The wood looks yellow under my white paint.”
- This is often tannin bleed-through.
- Fix: use a stain-blocking primer in affected areas, then repaint.
“My drawers stick now.”
- Paint adds thickness. Keep paint off drawer sides/runners when possible.
- Lightly sand tight spots and consider a little wax on runners once fully cured.
Conclusion
An easy tall dresser makeover doesn’t need complicated tools or advanced DIY skills. The “secret sauce” is thoughtful prep, the right primer for your
surface, thin paint coats, and one or two smart upgrades (hardware is the MVP). Take your time where it countscleaning, scuff sanding, priming, and cure
timeand you’ll end up with a dresser that looks custom, functions smoothly, and holds up to everyday life.
Experiences: What I’ve Learned From Tall Dresser Makeovers (So You Don’t Have To)
The first time you makeover a tall dresser, you think it’s going to be “clean, paint, done.” Then the dresser teaches you humility. Not in a mean waymore
like a wise aunt who hands you a snack and says, “Sweetie… you skipped a step.”
One of the biggest lessons is that prep is not optional. I used to treat cleaning like a polite suggestion, and scuff sanding like a rumor.
But furniture polish is basically paint’s worst enemy. If your dresser has lived through decades of lemon-scented sprays, it will absolutely reject paint like
it’s an unsolicited group chat invite. Once I started degreasing thoroughly and scuff sanding until the shine was gone, my finish stopped peeling on corners
and drawer edges.
Second: laminate is sneaky. It looks harmlesssmooth, clean, “easy to wipe”and that’s exactly why paint struggles to stick. The makeovers
that lasted best were the ones where I used a true bonding primer and didn’t rush it. If you’ve ever had a painted surface scratch off with a fingernail,
it’s usually not a curse. It’s either missing primer, wrong primer, or impatience.
Third: dry is not cured, and this one got me more than once. A dresser can feel dry in a few hours and still be soft underneath for days.
Translation: the finish is vulnerable to dents, drawer drag marks, and that one heavy basket you inevitably place on top “just for a second.” Now I plan my
makeover timeline so the dresser can sit and harden before it goes into full-time service. If I need it functioning sooner, I keep drawers slightly ajar and
use a gentle touch for a whilelike the dresser is in a delicate post-makeover spa phase.
Fourth: hardware choice changes everything. I’ve watched the same painted dresser look “fine” with old knobs, and instantly look “custom”
with modern pulls. If your budget is tight, I’d rather see you buy better hardware and use fewer “fancy extras.” Pulls are what your eyes (and hands) meet
first. They’re the handshake of the dresser.
Fifth: labeling drawers saves sanity. Tall dressers often have drawers that fit best only in their original slots. If you skip labeling,
reassembly becomes a game show called “Which Drawer Will Close Today?” A strip of tape inside each drawer takes 30 seconds and prevents an hour of confused
shuffling later.
Finally, a safety note from real life: once you’ve made a tall dresser gorgeous, you’ll use it moreand it will get opened more. That’s why anchoring matters.
I’ve become a big believer in anti-tip kits, especially in homes with kids or pets. It’s not the glamorous part of the makeover, but it’s the part that lets you
enjoy your new piece without a low-grade sense of doom.


