Table of Contents >> Show >> Hide
- Start Here: Three Things That Decide Everything
- The “Won’t Budge” Mindset: Studs First, Always When You Can
- Choose Your Best Hardware: Two Reliable Paths
- When Studs Aren’t Where You Need Them: Anchors That Actually Mean Business
- Step-by-Step: Hang a Heavy Mirror So It Stays Put
- Special Surfaces: Plaster, Brick, Concrete, and Tile
- Pro Tricks for a Perfect “Statement Piece” Look
- Common Mistakes That Make Mirrors Fall (or Slowly Go Crooked)
- Conclusion: Hang It Once, Enjoy It Forever
- Real-World Hanging Stories: What People Learn the Hard Way (and Then Laugh About Later)
- SEO Tags
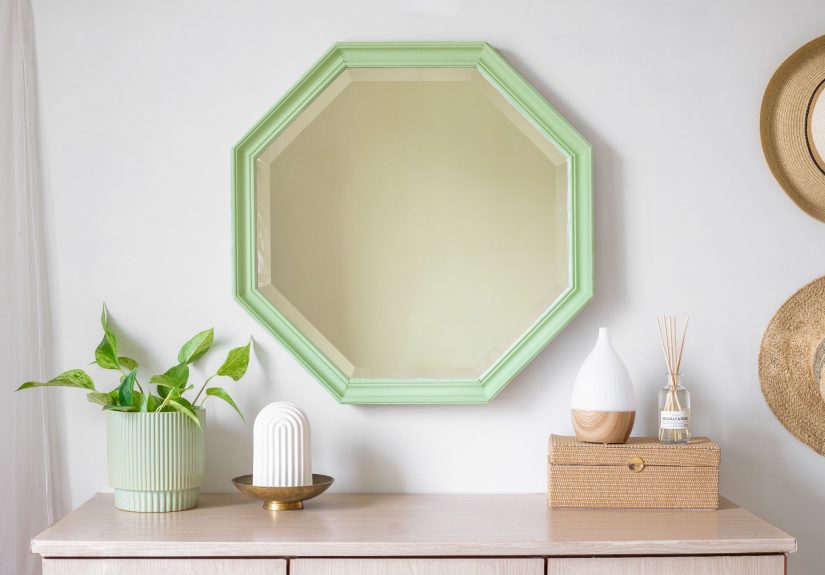
A big, beautiful mirror can make a room look brighter, taller, and like you definitely have your life together. But a “statement piece” shouldn’t be making statements like CRASH at 2 a.m. This guide walks you through the safest, most reliable ways to hang a heavy mirrorlevel, secure, and stubbornly unmoving.
Start Here: Three Things That Decide Everything
1) How heavy is “heavy,” exactly?
Don’t guess. If the mirror is still in its packaging, check the label. If not, use a bathroom scale: weigh yourself, then weigh yourself holding the mirror (with help if needed). The difference is the mirror’s weight. For safety, choose hanging hardware rated for at least 2x the mirror’s weight (more if the wall is questionable).
2) What kind of wall are you mounting to?
- Drywall over wood studs: Most common and usually the easiest to secure properly.
- Drywall over metal studs: Still doable, but hardware choices matter more.
- Plaster and lath: Strong in places, fragile in others; pre-drilling is your best friend.
- Masonry (brick, block, concrete): Very secure with the right drill bit and anchors.
- Tile: Trickyoften best to anchor through grout or into studs behind tile when possible.
3) What hanging hardware is on the back of the mirror?
Flip the mirror over and look for: D-rings, keyhole brackets, a wire, or a mounting rail/cleat. If you see a tiny sawtooth hanger on a mirror that could double as a gym weight, treat that like a red flag wearing a whistle: replace it with heavier-duty hardware.
The “Won’t Budge” Mindset: Studs First, Always When You Can
When you mount into studs, you’re fastening into the wall’s framing, not just the drywall “skin.” That’s the difference between a mirror that stays up for years and a mirror that eventually decides gravity seems fun.
How to find studs (even if your stud finder is missing)
- Stud finder: The easiest option. Mark both edges, then mark the center.
- Outlet/switch clue: Electrical boxes are typically attached to a studone side of the box is near a stud.
- Knock test: Hollow sound between studs, more solid sound over a stud.
- Magnet trick: A strong magnet can locate drywall screws/nails, which often line up with studs.
Most studs are spaced about 16 inches apart (center-to-center), though older homes can be more “creative.” Once you find one stud, you can often predict the next.
Choose Your Best Hardware: Two Reliable Paths
Option A (Best Overall): French cleat (the “it’s not going anywhere” method)
A French cleat is a two-piece interlocking bracket system: one piece mounts to the wall, the other to the mirror. The angled faces hook together so the mirror’s weight is distributed across a wider area. It’s especially great for wide or very heavy mirrors because it resists shifting and feels rock-solid.
For big mirrors, mount the wall cleat into at least two studs (three is even better if the mirror spans them). If your mirror doesn’t come with a cleat, you can add one (many are sold as kits).
Option B (Strong and Simple): D-rings + two wall hooks/screws
If your mirror has D-rings (or you can install them), you can hang it on two heavy-duty hooks or screwsideally into studs. Two points of contact reduce twisting and help the mirror stay level.
If the mirror has a wire, consider upgrading: wire can work, but it’s easier to shift out of level, and it’s not ideal for extremely heavy mirrorsespecially if hung from a single hook.
When Studs Aren’t Where You Need Them: Anchors That Actually Mean Business
Sometimes the perfect mirror spot is exactly where studs aren’t. If you can’t hit studs, you must use anchors designed for heavy loads. Not the tiny plastic sleeves you found in a junk drawer.
Heavy-duty anchor options (for drywall)
- Toggle bolts: A classic for hollow walls. The “wings” open behind the drywall and spread the load. Great for heavy mirrors when installed correctly.
- Molly bolts / hollow-wall anchors: Metal sleeves that expand behind the wall as you tighten them. Strong and dependable.
- High-capacity self-drilling anchors: Some are rated for heavier loads, but the real strength depends on wall thickness and proper installation. Use them for moderate-to-heavy itemsnot for “this mirror could bench-press me” situations unless ratings and conditions truly match.
Whatever you choose, follow the manufacturer’s weight rating and installation instructionsand remember: ratings can vary depending on drywall thickness (commonly 1/2 inch), anchor spacing, and whether the load is perfectly vertical.
Step-by-Step: Hang a Heavy Mirror So It Stays Put
Tools and supplies
- Stud finder (optional but helpful)
- Level (2-foot level is ideal; a laser level is a luxury you’ll enjoy)
- Tape measure
- Pencil + painter’s tape
- Drill/driver + appropriate drill bits
- Chosen mounting hardware (French cleat kit, heavy hooks, screws, anchors)
- Two rubber bumpers or felt pads (to keep the mirror from scuffing or tilting)
- A helper (strongly recommendedmirrors are awkward, not just heavy)
1) Decide the height (and keep it flattering)
A common design guideline is to hang wall art so the center sits around eye leveloften about 57 inches from the floor. For mirrors, your use matters: in an entryway, you might go a bit lower; above a dresser, you’ll work around the furniture height. Use painter’s tape to outline where the mirror will go before you commit to holes.
2) Measure the “hang point” on the mirror
This is the part that saves you from the dreaded “Why is it two inches too low?” moment. Measure from the top of the mirror down to the hardware that will rest on the wall fasteners:
- D-rings: measure from top edge to the D-ring hole position when pulled taut.
- Wire: pull the wire up to where it would sit on a hook, then measure from that point to the top.
- French cleat: measure from the top of the mirror to the top edge of the cleat mounted on the mirror.
3) Mark the walllevel, centered, and sane
Mark the mirror’s centerline on the wall. Then mark the height where the top of the mirror should land. From there, mark where your screws/hooks/cleat must go based on your hang-point measurement. Use a level for every mark that matters. Mirrors love to advertise crookedness.
4) Install the wall hardware
- If you’re hitting studs: drill a small pilot hole, then drive a properly sized screw/hook into the stud. Use wood screws long enough to bite into the stud (not just barely kiss it and leave).
- If you’re using anchors: drill the correct hole size and install the anchor exactly as directed. For toggle bolts, insert the toggle, let it open behind the wall, then tighten until snug (not “I’m trying to crush drywall” tight).
- If you’re installing a French cleat: mount the wall cleat into multiple studs whenever possible, keeping it perfectly level. This is where taking an extra five minutes saves you from ten years of mild annoyance.
5) Hang the mirror (with a helper and a plan)
Lift the mirror into place carefully. For a French cleat, hook the mirror cleat over the wall cleat and lower until it seats fully. For D-rings, place each ring on its hook/screw. Step back and check level.
6) Add bumpers so it sits flat and stays aligned
Place rubber bumpers or felt pads on the lower corners of the mirror’s back. This prevents scuffing, improves stability, and helps stop the mirror from slowly rotating out of level over time.
7) Do the “real life” test
Gently pull the bottom of the mirror forward a tiny amount and release. It should feel solidno shifting, no weird creaks, no drama. If anything feels questionable, fix it now, not after the mirror auditions for a slapstick comedy.
Special Surfaces: Plaster, Brick, Concrete, and Tile
Plaster walls
Plaster can crack if you bully it. Pre-drill carefully, and consider toggle bolts or molly bolts when studs aren’t accessible. If your plaster is old or crumbly, go slow and avoid over-tightening.
Brick, block, or concrete
Use a masonry drill bit and anchors designed for masonry. These walls can be incredibly secure, but only if you drill clean holes and use the correct anchor type and size.
Tile walls
If you must drill tile, use the correct tile bit and go slowly to avoid cracking. Whenever possible, aim for grout lines (depending on tile layout and load requirements) or locate studs behind the tiled surface. Bathrooms also bring humidity into the mix, so avoid questionable “temporary” hanging methods.
Pro Tricks for a Perfect “Statement Piece” Look
- Use a paper template: trace the mirror on kraft paper, mark hardware points, tape it to the wall, and drill through the marks.
- Use a temporary ledger: screw a straight board to the wall as a “shelf” to rest the mirror while you align it, then remove it.
- Prefer two contact points: two hooks/screws beat one for stability (and your sanity).
- Go wider when heavy: wide mirrors benefit from cleats or rails that distribute weight across studs.
Common Mistakes That Make Mirrors Fall (or Slowly Go Crooked)
- Using adhesive hooks/strips for heavy mirrors: convenient until humidity, time, and gravity team up.
- Relying on a single nail or lightweight picture hook: that’s for posters, not statement mirrors.
- Ignoring weight ratings: “It’ll probably be fine” is how home projects become home stories.
- Over-tightening anchors: you can crush drywall and reduce holding power.
- Skipping the level: mirrors are honesty machines. They will expose every crooked millimeter.
Conclusion: Hang It Once, Enjoy It Forever
The secret to a heavy mirror that won’t budge is simple: respect the weight, match the hardware to the wall, and prioritize studs or high-capacity anchors. If you can use a French cleat into multiple studs, do itit’s one of the most stable options. If you’re working around stud placement, use serious anchors (toggle bolts and molly bolts) and distribute the load across two points. Take your time, measure twice, and your mirror will stay exactly where you put itlike a well-trained statement piece.
Real-World Hanging Stories: What People Learn the Hard Way (and Then Laugh About Later)
Heavy-mirror projects have a funny way of turning into family lore. Not because anyone planned it that waybecause mirrors are awkward, walls are unpredictable, and confidence is often highest right before the first mistake. One common “experience” homeowners share is the moment they realize a mirror is heavier than it looked in the store. It’s not just the poundsit’s the size, the leverage, the way it catches air when you pivot, and how it always seems to aim for your shins. The fix is almost always the same: recruit a helper, clear a runway, and set the mirror down on a blanket while you mark and drill. Trying to “just hold it for a second” while you measure usually turns into a full-body workout you didn’t schedule.
Another classic lesson: studs rarely live where you want them. People often start with big dreamscentered perfectly over the console, symmetrical with the sconcesthen the stud finder beeps in a spot that feels personally insulting. That’s when the best installs get creative without getting reckless. Some folks switch to a French cleat that spans multiple studs, which lets the mirror sit exactly where they want while the fasteners land where the wall can actually support them. Others add a solid mounting board (anchored into studs) and then attach the mirror to that board. It’s not glamorous, but neither is sweeping up glass.
Bathrooms supply their own special chapter: humidity plus “temporary” solutions equals regret. People will tell you they tried heavy-duty adhesive strips because the box promised it could hold “up to” some impressive number. Then months later, after enough steam, temperature changes, and time, the mirror slowly begins to creep orworst-caselets go all at once. The takeaway: if a mirror is heavy, valuable, or both, treat it like it deserves proper hardware. It’s not about being dramatic; it’s about not turning your floor into a mosaic.
There’s also the “perfectly level… until it isn’t” phenomenon. A mirror can start out straight and still drift out of level over weeks if it’s hung on a wire, if one hook carries more load than the other, or if the mirror’s back isn’t sitting flat against the wall. This is where small details like rubber bumpers on the lower cornersfeel almost magical. They reduce wobble, keep the mirror from tilting, and help it resist those tiny shifts that add up. People are often surprised how much a $3 pack of bumpers can improve the “installed like a pro” vibe.
Finally, the happiest stories usually involve someone who over-prepped: they measured the hang point carefully, used painter’s tape to map the outline, drilled pilot holes, chose hardware rated well above the mirror’s weight, and then tested the setup before calling it done. That’s the sweet spot: not fear, not bravadojust solid, boring, reliable installation. And honestly? “Boring” is exactly what you want from the thing holding a giant mirror above your hardwood floors.


